The painting process

Preparations for painting are going well. This stage is rather tedious, but it’s a part of the creative process: the base leads to the finished product.

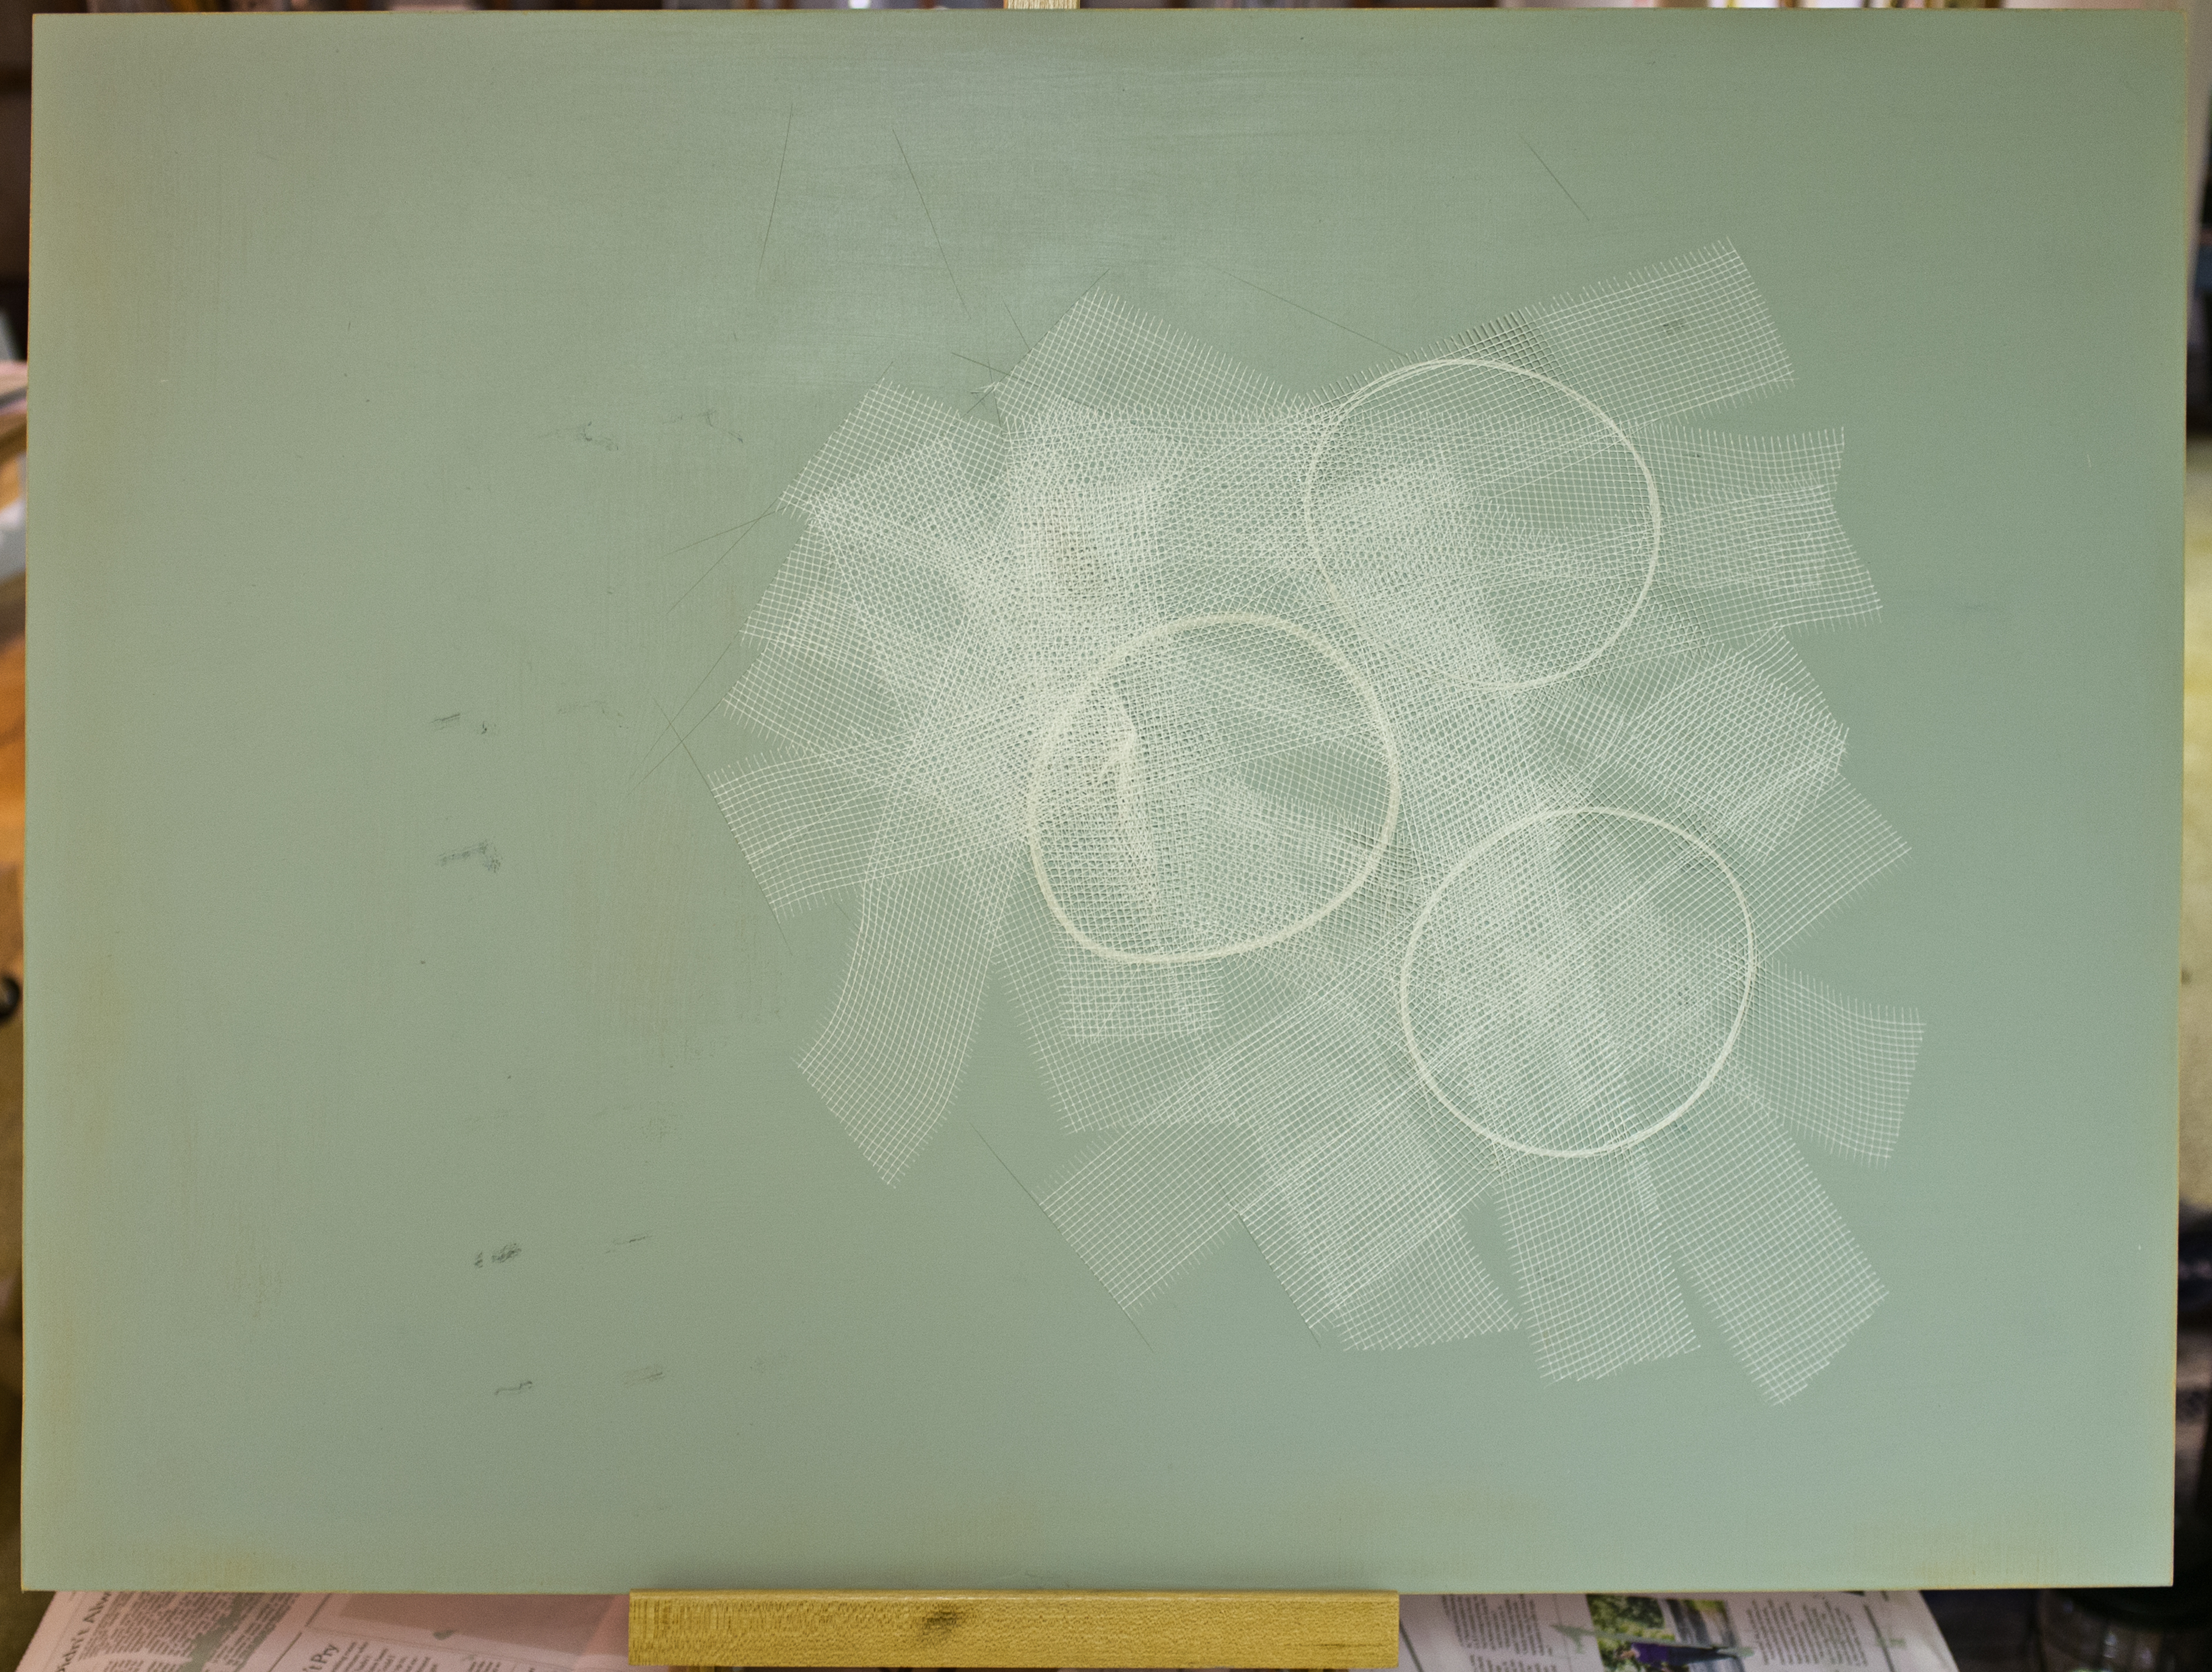
Here’s a panel with the mesh base applied. You’ll notice that there are what appear to be circles under the mess. A bit of serendipity there: as I unroll the mesh and cut it into strips on the board, the strands on the edges sometimes get separated from the inner part of the roll. Most of the time, I just cut these off and toss them, but for this piece, and one other that I’m doing, I’ve applied them to the base. In one of Octavio Paz’s poems, he refers to the circle as the perfect representation of the impulse of art, so I include a few in some of my pieces.

Mesh base
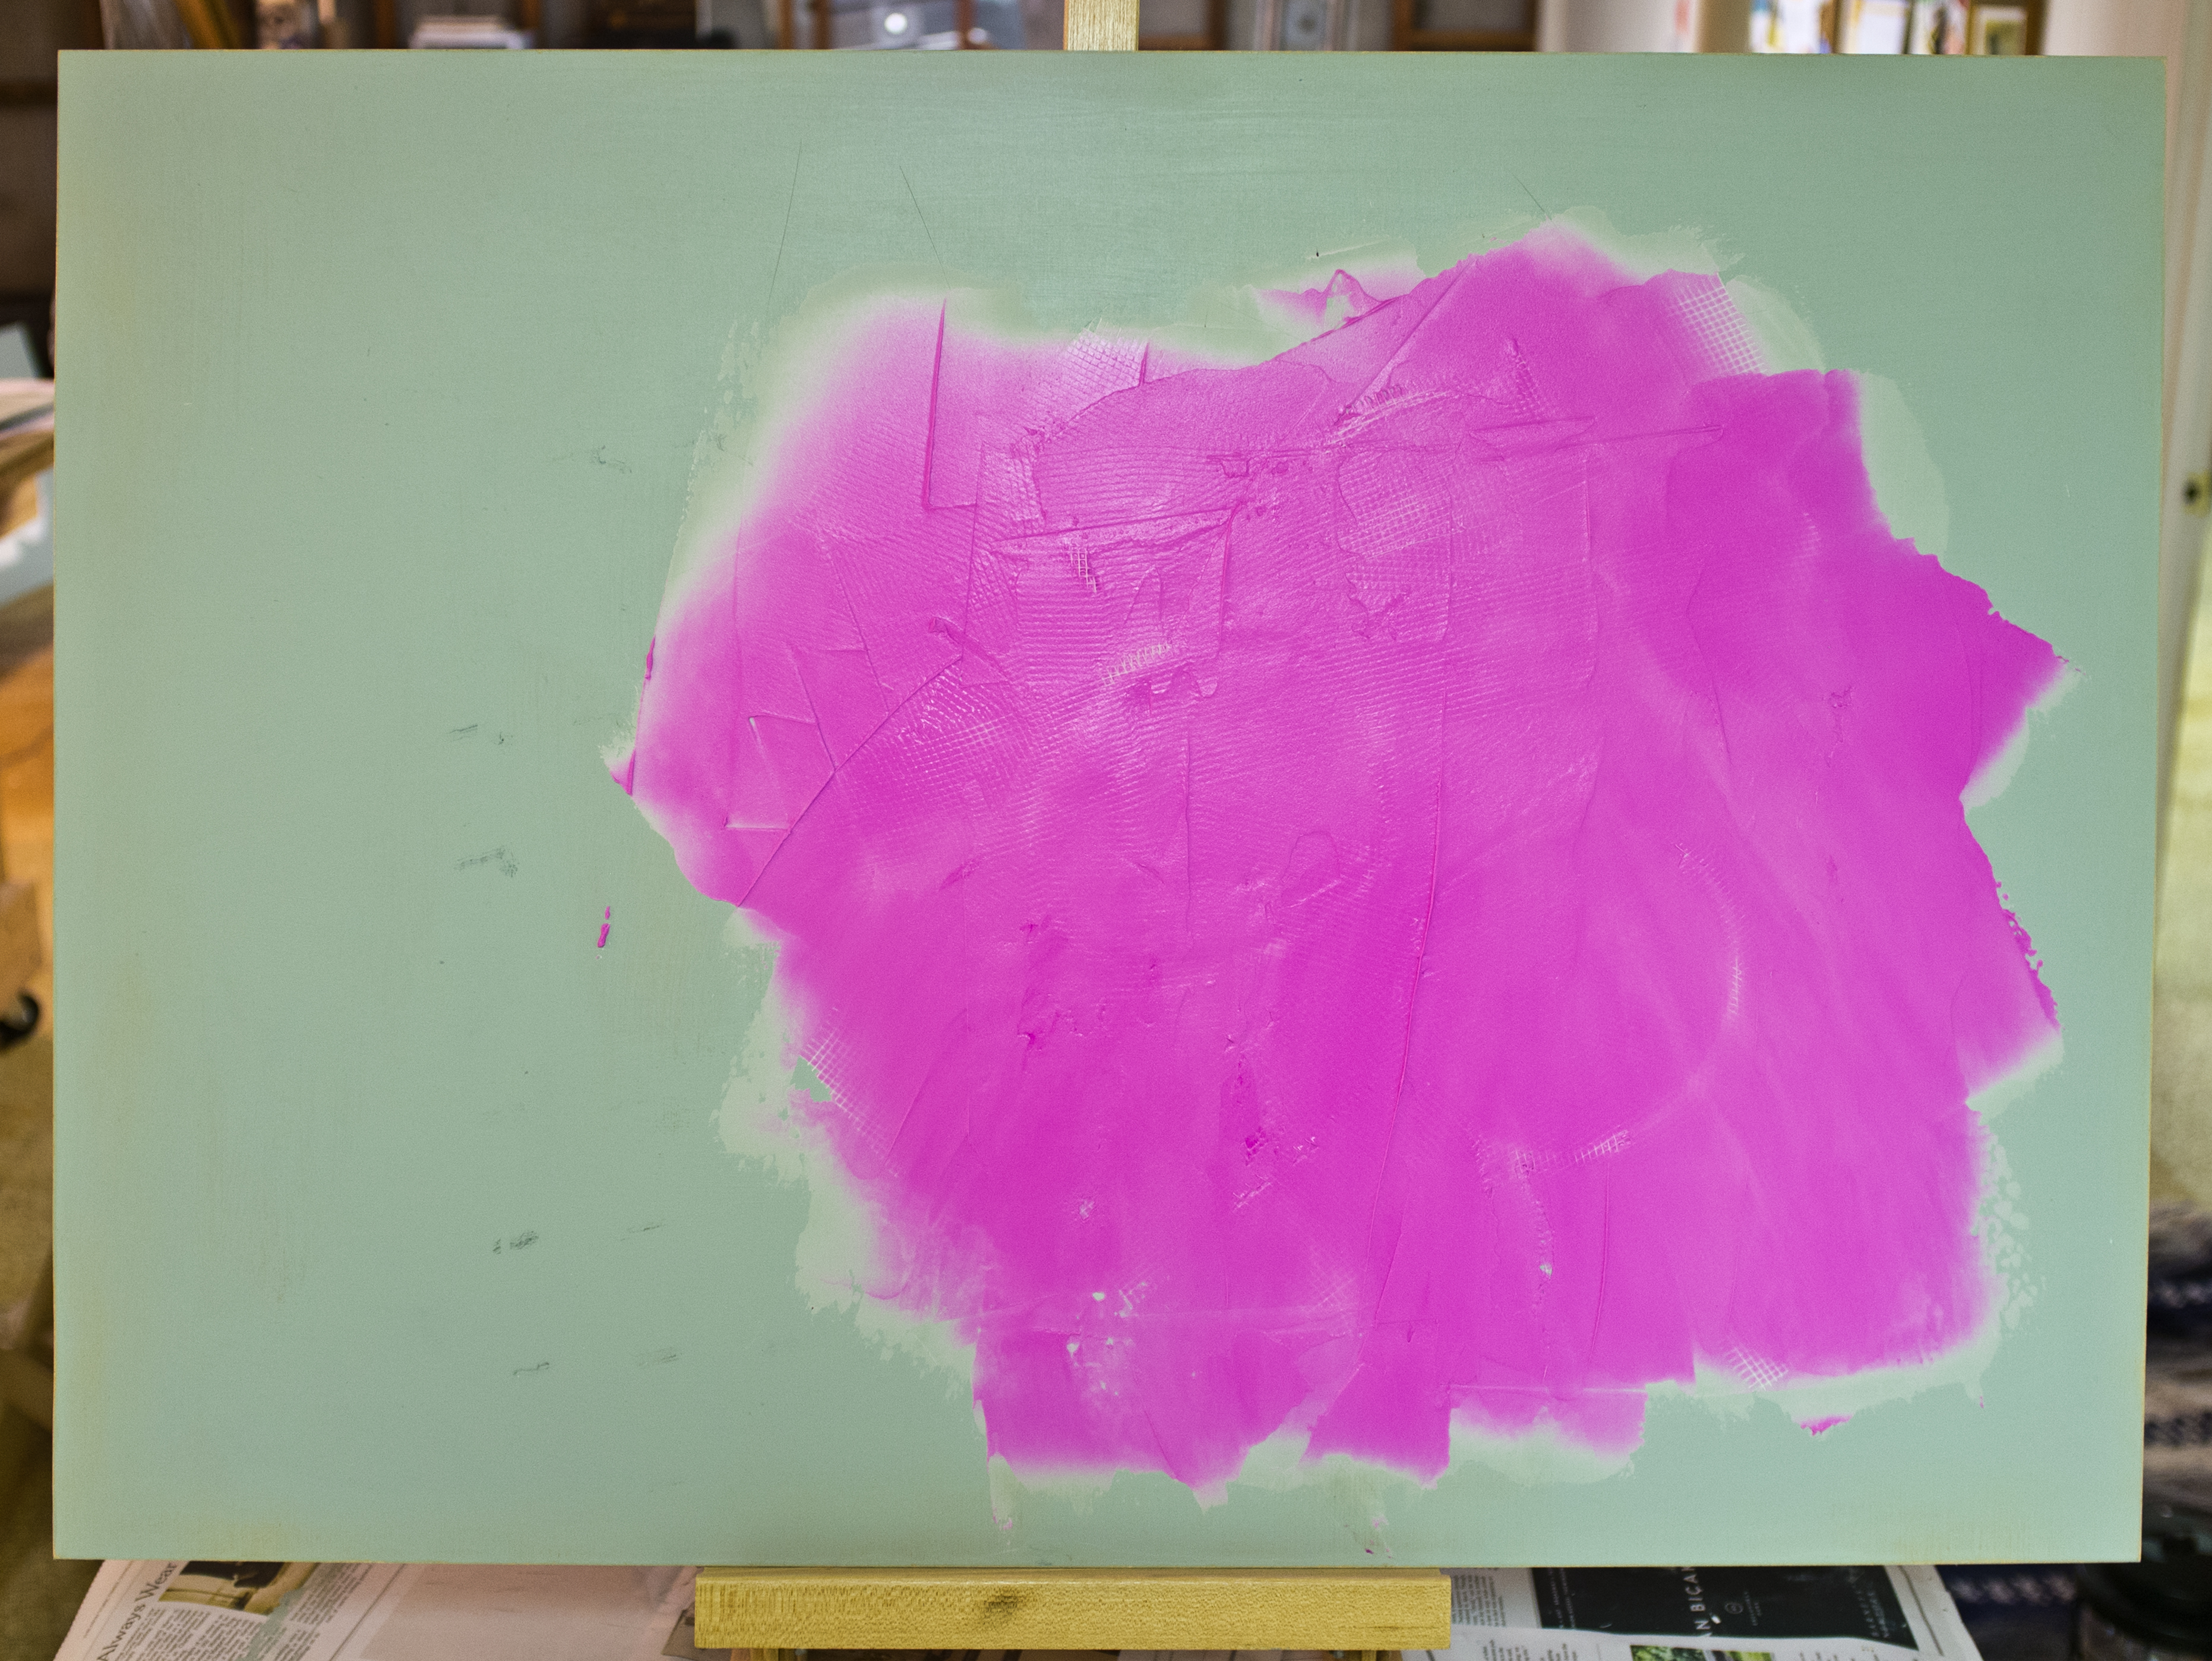
The second image below shows the beginning of the application of the joint compound. The type I’ve started using starts out pink, as you can see, and turns white as it dries. I’ve found this very helpful. Some areas of some of my pieces have a thicker coat, so it’s good to know when those spots have dried completely before applying the gesso.

Beginning to coverThis next photo shows the mesh fully covered with compound. Now it’s just a matter of waiting for it to dry.

Fully coveredThis photo shows a panel to which I earlier applied compound. As I looked at the piece, I decided that it needed more texture, so I’ve added another layer, with some deep gouges. We’ll see how those look when they dry. I may need to adjust them some, which I do with sandpaper. This piece may need even more layers. I’ll know when it’s dry.

Extra layer of compound

Painting

I’ve been painting a lot over the last four weeks, getting ready for a show in August. Most people think that an artist picks up a brush, dips it into paint and a picture magically appears. Oh that it were so!

If you paint on canvas, that might come fairly close to the reality (though stretching, sizing, and priming might take a few days unless one buys canvas pre-mounted and primed; and of course, this says nothing about the thought process that goes into deciding what to paint, which sometimes takes years), but in my case the process is a bit more involved.

I paint on hardboard that I buy from Home Depot. Nothing fancy. It has a nice smooth surface and works well for my highly-textured images. When I get the 2′ x 4′ sheets home, I have to decide what size paintings I’m going to do. I usually cut the larger sheets into smaller sizes, glue blocks for hanging on the back, prime the pieces with latex, apply drywall mesh and joint compound to create texture, shape the compound, and when that is dry, apply a couple of coats of gesso. Then, I’m ready to paint.

I paint with acrylic using a brush and wet rags. While the first several steps take three or four days, I can usually complete a painting in about one to two hours, depending upon the size. I paint quickly, but a painting doesn’t happen quickly. As I said before, the thought process takes much longer. I am not a realist painter, by any stretch of the imagination. If you see something in my painting that you recognize, it is something that you have created in your mind, not something that I intended for you to see. My technique is very much “stream-of-consciousness,” perhaps even Surrealist, and the inspiration for a painting may come from a poem, piece of music, book I’ve been reading, a TV advertisement, a dream, something that someone says in passing…

Right now, I’m working from the inspiration of the poetry of Octavio Paz, the great Mexican poet, diplomat, teacher, Nobel Laureate. Seven years ago, I started a series based on the stanzas of the poem “Salamander.” So far, I’ve completed twelve of the twenty pieces and hope to finish the rest in the next couple of years. I’ve also done paintings based on about a dozen other poems by Paz.

One of these days, another inspiration will arise and I might be doing paintings based on “Gilligan’s Island” or “The Andy Griffith Show.” Now, that will truly be Surreal.

….

Here’s a look at the process I use and a few new paintings.

Panels with blocks applied

Panel with hanging blocks applied

Priming

Panel being primed. Yes, I use house paint.


Primed panelsA couple of panels primed.

MeshNext, I apply drywall mesh to provide a surface for the joint compound to grab on to.

Panel with compound shapedA panel with joint compound applied and shaped.

Panel ready for paintA panel that has been gessoed.

Tools of the tradeTools of my trade.

Yellow claw
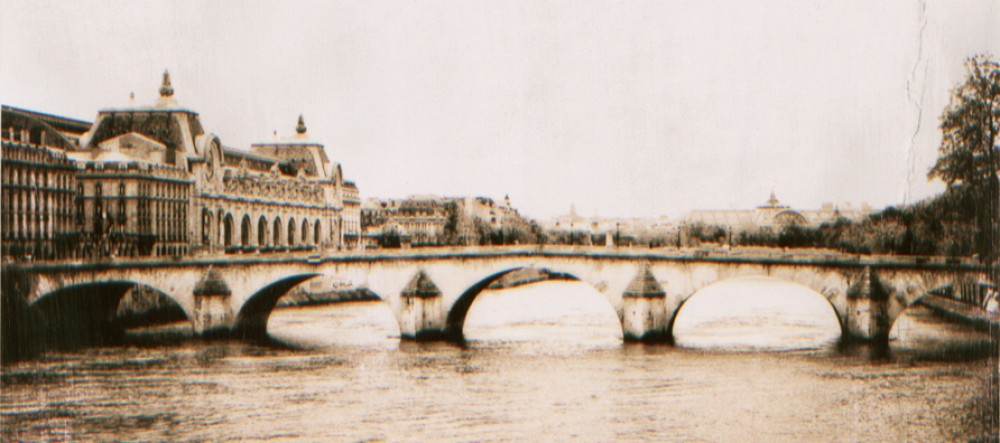
A finished piece. This one is called “Salamander 4 – Yellow claw”

Solar arrowAnother finished piece. “Salamander 15 – Solar Arrow”

Red word of beginning“Salamander 19 – Red word of beginning”


New look, new purpose

I’ve been using this as an all-purpose blog for art, commentary and a place for a continuing story of small town newspaper correspondent, but I decided to move all of the news about Walnut Shade to its own blog site (walnutshadenews.wordpress.com) and use this one exclusively for art — painting, sculpture, and photography.  I hope that you will continue to visit here and to subscribe to my Walnut Shade blog.  Lots going on in that town, and I’d hate for you to miss out.

First light near Walnut Shade

Here’s the completed painting that I’m donating to Corks and Canvas.  It turned out to be quite different than I thought it would.

First light near Walnut Shade

This is what the canvas looked like after the first draft.

And here is draft #2.

Draft #1 looked like early Cezanne and #2 was an unconscious nod to Van Gogh.  The final piece just reflects my technique.

Work in progress #2, part 1

Well, I changed my mind and decided to donate a painting to Corks and Canvas rather than the organic sculpture; I explain why in a later post.  Here’s a a photo of about an hour’s work laying in some colors and getting a feel of what may emerge for a piece to be entitled First light near Walnut Shade, Kansas.  This is the first painting I’ve started in about four months, and it feel good to get back to it.

Art Unleashed is just around the corner

Art Unleashed, the annual fundraiser for the Greater Kansas City Humane Society will be Friday, August 27th at Hale Arena (in the American Royal Complex).  Here’s the website for more information:

http://www.hsgkc.org/artunleashed.html

I’ve had the opportunity to donate art to this event for the last five years and it’s been fun trying to come up with a creative pieces every year.  I started borrowing iconic images and adding photos of my dogs, since even paintings of the masters can be improved with animals.  Here is this year’s piece:

I’m pretty sure that Sargent intended to put a dog in the picture, but probably just forgot or ran out of time.  He was notoriously late.

An art critic in the neighborhood

When Suzanne got up this morning, she discovered that “Ladders” had been vandalized.  During the night, someone had knocked it over, though I have to admit, it looks like they did so very carefully.  None of the top limbs were broken and there doesn’t seem to be any damage anywhere else.  Still, it’s disappointing that this would happen.  But, given what has happened in the four years we’ve lived here, not all that surprising.

This is not the first incident we’ve experienced.  During the 2008 election, we had three Obama signs stolen from our yard and just this past March, we had a “War is not the answer” sign that we’ve had since the first days of the Afghanistan War back in 2001 taken.  I’d like to think that these are all pranks by neighbor kids, but they are irritating, nonetheless.

I reported the latest incident to the police just so they will keep an eye on things.  For now, I’m going to leave my sculpture in its “prone” position and treat it as a crime scene.  One of the things I learned last year was that these pieces evolve in the time that they are on exhibit, whether by my hand or by the hand of nature.  Now, I see that they can also evolve by the hand of others.

Ladders (continued)

Construction of the Ladders structure was phase one of the piece.  The second phase has been painting and adding canvas strips.

The process reminded me of the work my grandmother used to do repairing the seats of her kitchen chairs.  She lived in a small, two-room house across the street from us when I was growing up; one room was the kitchen/living room/sewing room/library and the other was her bedroom, which was just large enough for her bed and a small dresser.  My grandmother moved to her tiny house from the farm after my grandfather died in 1952.  She lived there alone for the last ten years of her life, although she was rarely alone.  As I said, she lived across the street and one of my aunts and an unmarried cousin lived next to her.  On an adjacent lot was another adult cousin and her family, so my grandmother’s house was almost never empty.  On Saturdays and Sundays, some combination of aunts and uncles and cousins always visited and my grandmother spent the rest of the week sewing and cooking in preparation for these invasions.

My grandmother had suffered an injury to one of her hips at some point, which made it painful for her to walk or stand so she spent most of her day sitting in her wicker rocking chair, cutting strips of cloth from old dresses, shirts, sheets and any discarded material she could get from the family and friends.  In addition to the chair-seats, she also used this material to weave rugs, coasters, and place mats.  The strands of material were carefully braided and sewn together, making them very strong.  My process is much more fragile and not intended to be utilitarian.

I painted both sides of a 24″ x 36″ piece of canvas before cutting it into strips.  I found that when I had finished painting, I was reluctant to cut the strips; I liked the overall piece I had done and considered stretching and framing it as it was.  However, that was not the creative intent at that point, so I went ahead with my plan and cut the canvas into strips of varying width.  I forgot to take a photo of the intact piece.  Probably just as well.

With the exception of some touch-up painting of the structure, I have one more process to add to the piece.  I’ll share that with you in a subsequent post.

Ladders

I began working on my new organic sculpture this week and plan to unveil it on July 4.  Our neighborhood is just a few blocks from the city park and we usually have hundreds of people parked on the streets here, so it’s a perfect venue for exhibiting my yard art.

The process this year started with the deconstruction of a couple of last year’s “Trellises.”  Here’s how one looked at the end of the season.

Here’s part of the deconstruction

and deconstruction of the canvasses that were part of the sculpture.

Since last year’s project started with the idea recycling of yard waste, I decided that this year’s piece should continue the recycling by using last year’s art in a new form.

After deconstruction, I started assembling the parts of the new project.

and purchased a new tool that really speeded up the construction process:  an air compressor and air gun.  It works like a charm and I’m thinking about other ways to use it.

Here are a couple of shots of the new components of the project…

And here are a couple of shots of the completed structure.

The next step is to reconstruct the canvasses and add them to the structure.  That is today’s task.  More later.